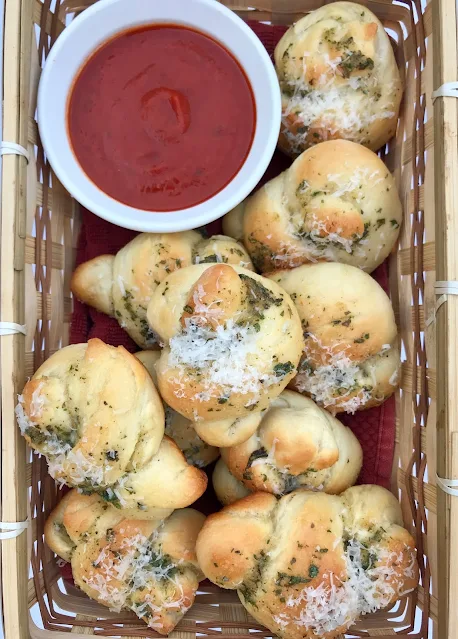
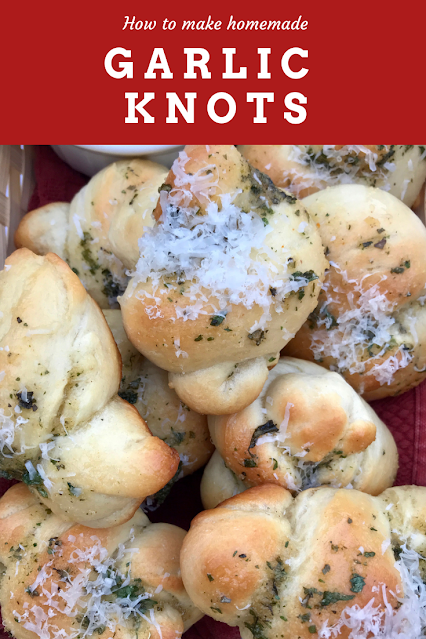
Homemade garlic knots are a delicious side to any pasta dish like spaghetti or baked ziti, along with soups, and salads.
Posts may contain affiliate links. If you purchase an item from these links, a small percentage goes to support the work of this blog. As an Amazon Associate I earn from qualifying purchases.
Garlic knots are a bread side dish that you may often find at pizzerias and Italian restaurants. They are like a garlic bread stick, but instead of being long, they are twisted up in a knot, hence the name.
They have garlic powder in the dough, and then more garlic powder in the butter topping. They are also topped with dried herbs and some freshly grated Parmesan cheese.
You can serve garlic knots along side any of your favorite pasta dishes. They are also delicious with soups, salads, and even chili.
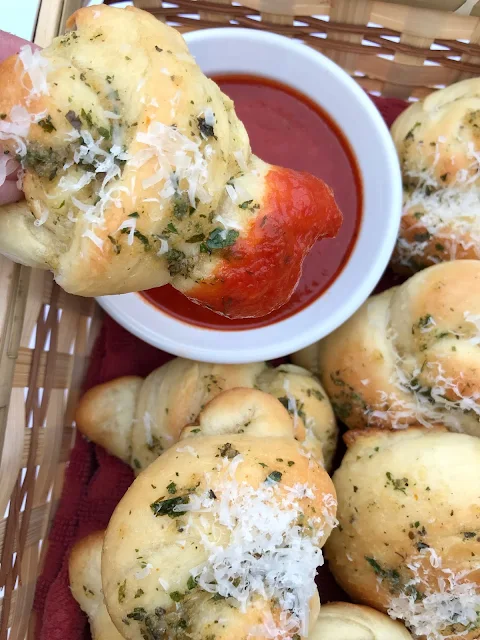
You can heat up some extra pasta sauce and use that to dip the garlic knots into as well. This is optional, but definitely delicious!
Garlic knots are a soft, pillowy dough that is full of delicious flavor, making them great on their own as a side dish or even an appetizer dipped into sauce.
Since they are a yeasted bread that requires rising time, you do need to plan ahead when making garlic knots. They have two separate rising periods, although neither is very long.
Garlic knots are a pretty simple homemade bread if you are new to bread baking. They aren't very complicated. Twisting them up does not have to look perfect either - they will still taste delicious!
Give these homemade garlic knots a try the next time you want some bread sticks. They are terrific for winter time baking on a cold day when you are inside and wanting to warm up.
I find winter time to be the perfect time for practicing baking bread. The oven warms up the house, and generally we have more leisure time.

Garlic Knots
Ingredients
- 1 cup warm water
- 1 tablespoon active dry yeast
- 2 teaspoons sugar
- 1 tablespoon olive oil, plus more for greasing
- approximately 2 to 2-1/2 cups all-purpose flour
- 1/2 teaspoon salt
- 1-1/4 teaspoons garlic powder
- 2 tablespoons olive oil
- 2 tablespoons unsalted butter
- pinch of salt
- 2 teaspoons garlic powder
- 1 teaspoon dried parsley
- 1/4 teaspoon dried basil
- about 1/3 cup freshly grated Parmesan cheese
Instructions
- Stir together the water and yeast in the bowl of a stand mixer fitted with the bread hook. Let sit for 10 minutes. Stir in the sugar and olive oil.
- In a large bowl, whisk together the flour (starting with 2 cups), salt, and garlic powder.
- Pour the flour mixture into the stand mixer bowl with the water and yeast mixture. Stir well and then put the mixer on medium speed and knead the dough for about 5 minutes, until the dough is smooth and elastic. If the dough is too wet, add a bit more flour a little at a time and continue to knead as needed.
- Lightly oil a large bowl (I always just use the stand mixer bowl) and place to dough ball inside. Loosely cover with a kitchen towel. Let rise in a warm place until it doubles in size (about one hour).
- Lightly oil two baking sheets. Pull off small pieces of dough, about 2 tablespoons worth (I just eyeball it). Roll into a rope about 1/2-inch thick. Tie into a knot and place on the baking sheets about 1-inch apart. Repeat until all the dough has been used.
- Cover again with a towel and let rise in a warm place for another 30 minutes. Preheat the oven to 375 degrees.
- While they are rising, mix together all the topping ingredients in a small bowl.
- Bake for about 12-14 minutes, until golden and springy to the touch. Then broil on low for about 30 seconds to 1 minute (just until the tops start to turn golden - this is optional, but adds a nice golden touch to the tops).
- Remove from the oven and brush with the garlic-herb topping. Sprinkle with Parmesan. Serve warm.
I hope you give these garlic knots a try! Let me know in the comments below.
Don't forget to follow me on Instagram, Facebook, and Pinterest!
This post was originally published in 2019 and has been updated in 2022 with a recipe card, new text, and more to improve reader experience.
Check out these other bread recipes:


Homemade bread is simply the BEST! These look fantastic, Amy.
ReplyDeleteWow! Bet these are good and I have to try the recipe, thanks!
ReplyDeletei love garlic knots!! great reminder to make them again. i'll have to try your recipe!
ReplyDeleteLove garlic knots! Haven't made them for years -- you've got me craving them now. :-)
ReplyDeleteOh...these look so tasty...loaded with garlic and Parmesan cheese...so good!
ReplyDeleteThanks for the recipe Amy...enjoy the rest of your week!
Oh my goodness! How did I miss these? Rolls like this are very dangerous in this house. My husband and I have been known to eat the whole batch in one sitting. That's exactly what would happen to a batch of these garlic knots.
ReplyDeleteOh, I love these - I have to make them for my kids! I just know that they will be crazy about them because they enjoy garlic, Parmesan cheese and herbs and yeast dough. A perfect snack recipe!
ReplyDeleteGarlic knots are always the best! I could ruin my dinner with a basketfull.
ReplyDeleteOh these look amazing! I love garlic knots as a snack or with pasta!
ReplyDeleteOne of B.O.B. Bob's favorite foods! Definitely a must-bake!
ReplyDeleteThese look delightful and I love that you've described them as simple to make. How yummy!
ReplyDelete